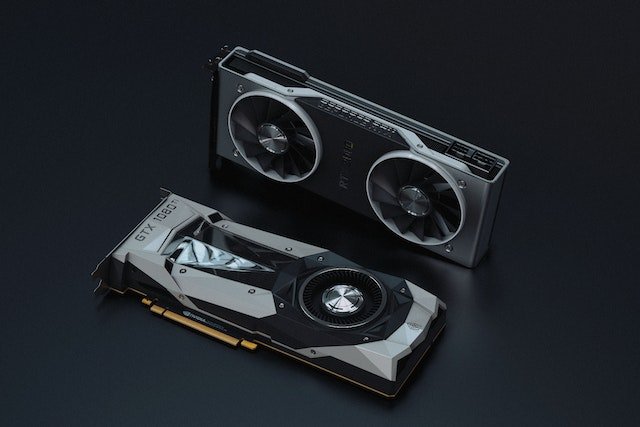
Overclocking is the practice of increasing the clock speed of a computer component, such as the CPU or GPU, beyond the manufacturer’s recommended specifications. Overclocking has become increasingly popular among enthusiasts and gamers, as it can lead to improved performance and better framerates in games.
Benefits of Overclocking your GPU
The main benefit of overclocking your GPU is improved performance. Overclocking can lead to higher framerates in games, faster rendering times in video editing software, and improved performance in other GPU-intensive applications. Overclocking can also be a cost-effective way to upgrade your graphics card. If you have an older GPU that is no longer meeting your needs, overclocking can provide a performance boost without the need to purchase a new graphics card.
Risks of Overclocking
While overclocking can provide many benefits, it also comes with some risks. The main risk of overclocking is damage to your hardware. Overclocking your GPU can cause it to overheat, which can lead to permanent damage if not addressed. Overclocking can also cause instability in your system, which can lead to crashes and data loss. It is important to take the necessary steps to ensure that your system is stable and that you are not pushing your GPU beyond its limits.

Steps to Overclock Your GPU
If you decide to overclock your GPU, there are several steps you should take to ensure that you do so safely, without damaging the components of your device.
Step 1: Check Your GPU Specifications
Before you begin, it is important to check your GPU specifications. You can usually find this information on the manufacturer’s website. Look for the base clock speed, boost clock speed, and other specifications that may be relevant.
Step 2: Install GPU Overclocking Software
To overclock your GPU, you will need to install overclocking software. There are many different options available, including MSI Afterburner, EVGA Precision X1, and ASUS GPU Tweak II.
Step 3: Test Your GPU
Before you start overclocking, it is a good idea to test your GPU to establish a baseline for performance. Run benchmarks and record your framerates to see how your GPU performs at its stock clock speed.
Step 4: Increase Clock Speeds
Once you have established a baseline for performance, you can begin increasing your GPU clock speeds. Increase the clock speeds gradually, and run benchmarks after each increase to ensure that your system remains stable.
Step 5: Monitor Your GPU Temperatures
As you increase your GPU clock speeds, it is important to monitor your GPU temperatures. Overclocking can cause your GPU to overheat, which can lead to permanent damage. Keep an eye on your GPU temperatures and make sure they do not exceed safe limits. Recommended not to exceed 80 degrees celsius, although each model and its components can perhaps withstand higher or lower temperatures.
Step 6: Test for Stability
Once you have increased your GPU clock speeds, it is important to test for stability. Run benchmarks and stress tests to ensure that your system remains stable and that you have not pushed your GPU beyond its limits. A good software suitable for this purpose is 3DMark, but similar ones can also be found by searching the Internet.
Overclocking your GPU can provide many benefits, including improved performance and cost savings. However, it also comes with risks, including the potential for hardware damage and system instability. If you decide to overclock your GPU, make sure to take the necessary precautions to ensure that you do so safely. Follow the steps outlined in this article, and monitor your GPU temperatures and system stability closely.


