


Creating a bootable USB Flash Drive can be useful if you need to format your main device to reinstall the operating system, restore a disk image or simply have a mini operating system at hand on a usb stick for emergency cases.
In this article we will discuss two free software to create a bootable USB Flash Drive with an ISO Image: Rufus (only for Windows) and Etcher (for Windows, Mac and Linux).
CREATE A BOOTABLE USB FLASH DRIVE USING RUFUS
Let’s see how to create a bootable drive with the Rufus tool.

- Download Rufus from the official website
- Insert a pendrive in a free USB port and launch Rufus (usually it don’t need installation)
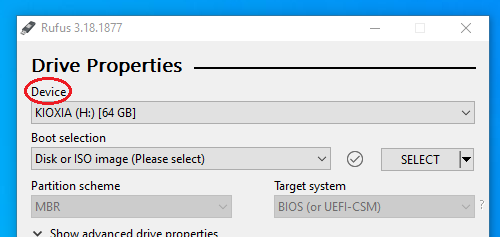
- From the menu “Device” select the drive letter corresponding to our pendrive (check image below)
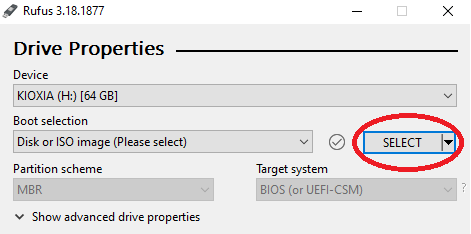
- On “Boot Selection” select “Disk or ISO image”, then click on SELECT and from there select the .ISO file that you want to use to make the USB Flash Drive bootable with it
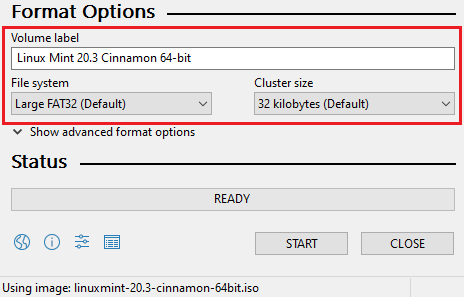
- If we don’t have an ISO image file we can download it from the net according to the operating system we want to use (Windows, Linux, etc). If we want to create a current ISO image of our system, we’ll have to use a specific software or the appropriate feature in our operating system (if present). Once you’ve selected your ISO image, you’ll see that in the lower part of the screen the “Volume Label” option automatically assigns the file name of your image, but you can change it if you wish. “File System” and “Cluster Size” options can be left at default settings. In our case we are creating a bootable device with a Linux distribution inside
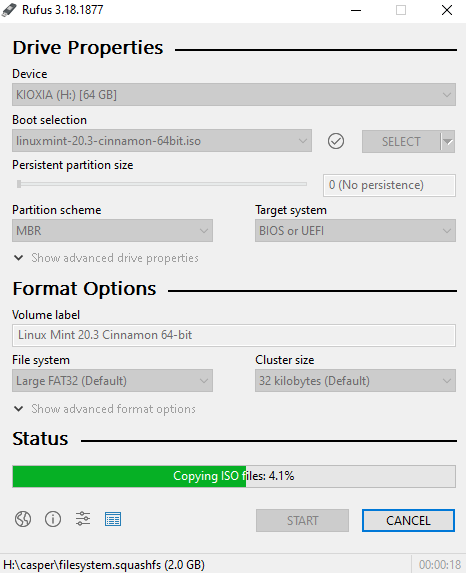
- Once all the operations are completed, we’ll just have to click on the START button to make our USB Flash Drive bootable. This process could take several minutes
- Now our usb stick is bootable from any compatible device. Remember to change the boot order of your drives directly from your bios settings and put the drive corresponding to your stick on top, so that it will boot first.
CREATE A BOOTABLE USB FLASH DRIVE USING ETCHER
Another software designed for the same purpose as seen above is Balena Etcher. Unlike Rufus, which is only available for Windows, Etcher is also available for Mac and Linux environments.

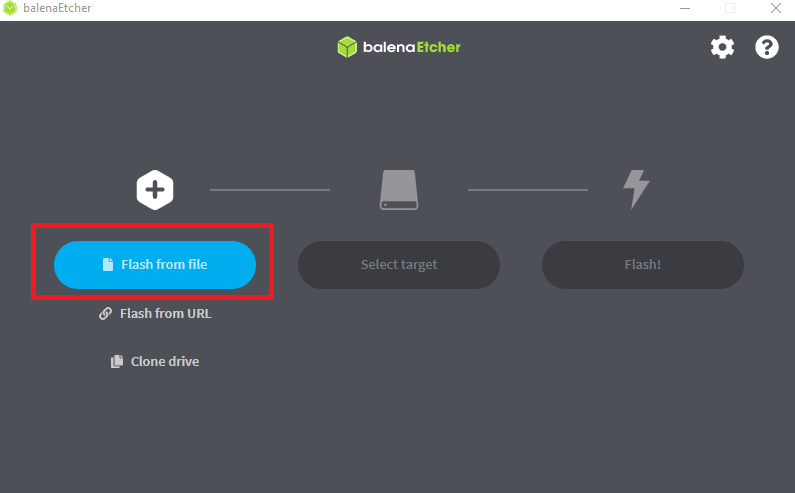
- Download Etcher from the official site, install and run it.
- From the main screen select “Flash from File”. If the ISO is on the web and we want to download it you can use the option “Flash from Url”
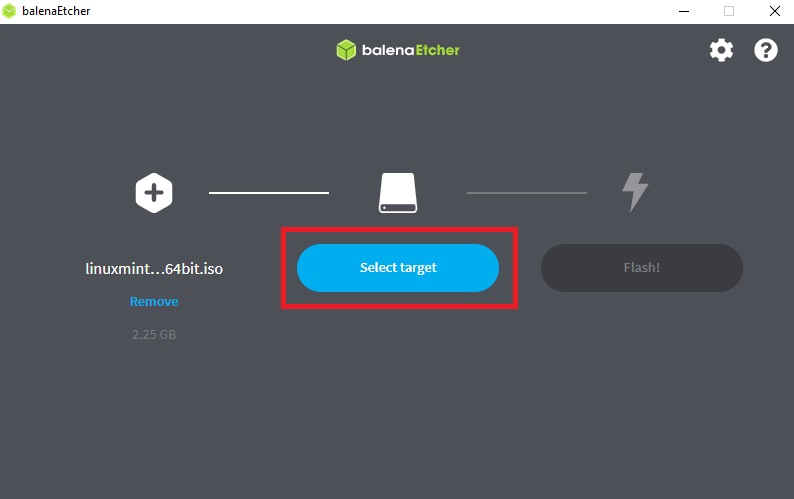
- At this point use “Select Target” option and select the drive corresponding to our USB Flash Drive.
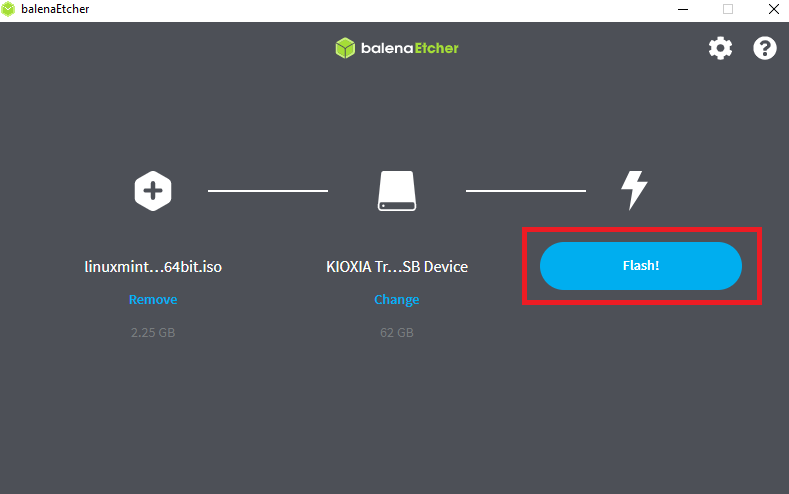
- Click on Flash and the process of writing our ISO file will begin. Again it will take several minutes until the operation is complete.
- Now our USB flash drive is bootable from any compatible device. Remember to change the boot order of your drives directly from your bios settings and put the drive corresponding to your flash drive on top, so that it will boot first.
CONCLUSIONS
In addition to Etcher and Rufus there are other software packages available for creating bootable drives or disk images, such as YUMI, Universal USB Installer and many more. We would like to clarify to our users that we are not responsible for any misuse of the software described above.